How to Make Your Own Cheese at Home: A Step-by-Step Guide
Cheese has been a diet staple worldwide for hundreds of years. Store-bought cheese is a valuable product, but making your cheese from scratch is beautiful and precise . Making cheese at home is fun and rewarding. Whether you’re not a foodie or already a cheesy pro, making cheese at home is way easier than you’d think.
In this guide, we will go over the types of cheese you can make using simple ingredients, the tools necessary to make the job easier, and a step-by-step process to help you get started. You’ll also learn about different types of cheeses you can make at home and how to troubleshoot common issues.
Why Make Cheese at Home?
Before we dive into the technicalities, here are some compelling reasons to make your cheese:
- Know What’s in It – No preservatives, additives, or artificial ingredients like in many commercial cheeses.
- Cost-Effective – Homemade cheese can be more affordable than high-quality artisanal cheeses.
- Customisable – Experiment with flavours, textures, and milk sources to create unique cheese varieties.
- Satisfaction with DIY Cheese – Nothing beats the joy of creating something delicious from scratch.
- Healthier Alternative – Control salt levels and avoid unnecessary chemicals.
Pro Tip: Always use high-quality, fresh milk for the best results.
Essential Equipment for DIY Cheese Making
To begin your cheese-making journey, you’ll need a few essential tools:
- Large Stainless Steel Pot – Heats milk evenly and prevents contamination.
- Thermometer – Ensures precise temperature control for curdling.
- Cheesecloth or Butter Muslin – Drains whey from curds efficiently.
- Colander – Helps strain curds while maintaining texture.
- Rennet – An enzyme used to coagulate milk into curds.
- Cheese Cultures – Introduces bacteria for flavour and texture development.
- Salt – Enhances flavour and preserves the cheese.
- Ladle and Slotted Spoon – Stir gently and separate curds without breaking them.
- Cheese Mold and Press – Shapes and compresses hard cheeses.
Pro Tip: Invest in a digital thermometer for accurate readings and consistent results.
Choosing the Right Milk for Cheese Making
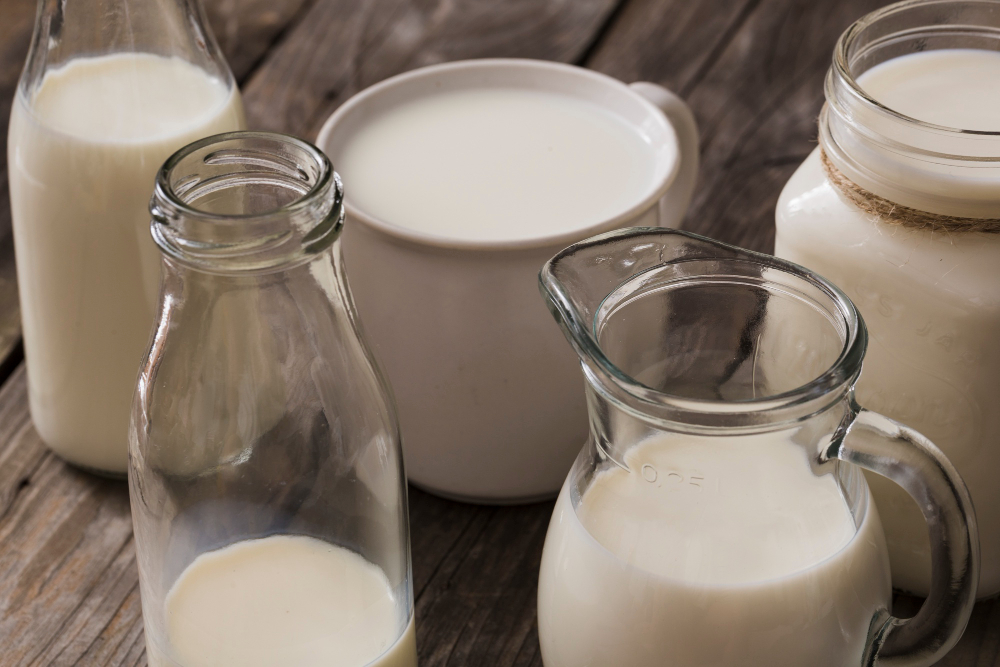
Milk quality plays a crucial role in homemade cheese-making. Here’s what to consider:
- Raw Milk – Ideal for traditional cheese-making but must be sourced from a reputable supplier.
- Pasteurised Milk – Works well, but avoid ultra-pasteurized milk, as it lacks necessary proteins.
- Goat and Sheep Milk – Offers unique flavours and textures for different cheese types.
- Non-homogenised milk– It is preferred, as homogenisation alters curd formation.
Pro Tip: Use store-bought milk, and use whole milk with minimal processing.
Step-by-Step Guide to Making Cheese at Home
Step 1: Preparing the Milk
- Pour milk into a large stainless steel pot.
- Slowly heat it to about 32°C (90°F) while stirring gently to prevent scorching.
Step 2: Adding Culture and Rennet
- Add the appropriate cheese culture and let it sit for 5-10 minutes to activate bacteria.
- Stir in diluted rennet using an up-and-down motion to ensure even distribution.
- Allow the milk to coagulate into a gel-like consistency, usually taking 30-60 minutes.
Step 3: Cutting the Curds
- Once the curds form, cut them into uniform cubes with a long knife.
- Let them rest briefly before gently stirring to help release whey.
Step 4: Cooking and Stirring
- Gradually heat the curds while stirring gently to expel more whey.
- Different cheeses require different cooking times and temperatures.
Step 5: Draining the Whey
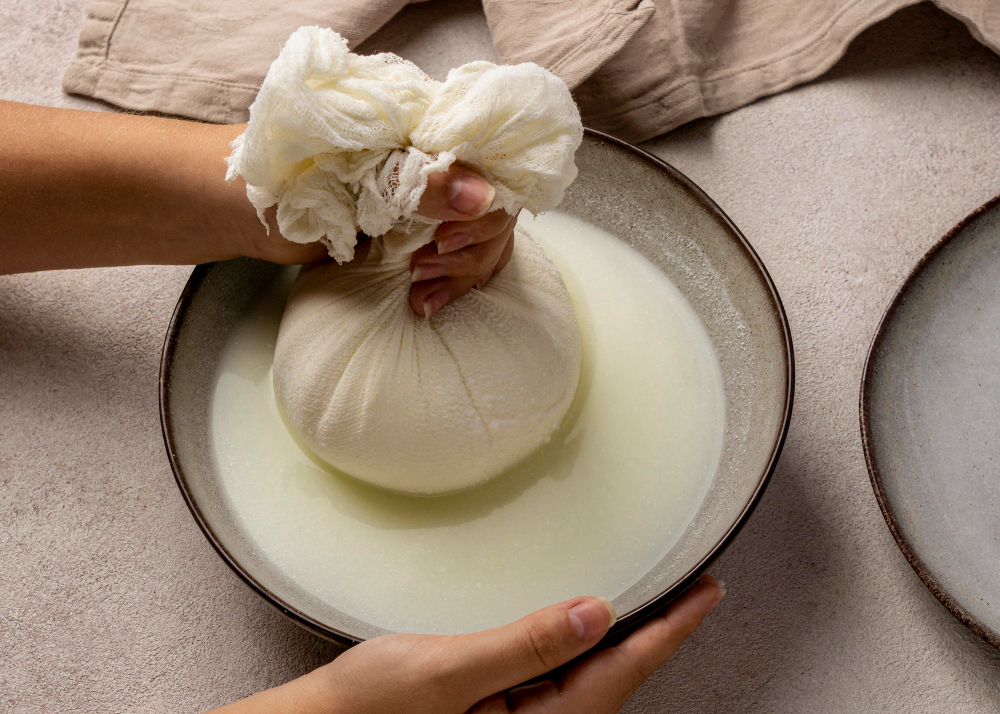
- Line a colander with cheesecloth and pour in the curds.
- Allow whey to drain for 30 minutes to 1 hour, depending on the desired moisture content.
Step 6: Salting and Shaping
- Sprinkle salt over the curds to enhance flavour and preservation.
- Shape the cheese into a round or block form and press if needed.
Step 7: Aging (Optional)
- Some cheeses, like cheddar, require controlled ageing.
- Others, like ricotta, can be enjoyed fresh.
Pro Tip: Use a cheese press for firmer textures and even moisture distribution.
Types of Cheese You Can Make at Home
1. Ricotta
- Difficulty Level: Easy
- Time Required: 30-60 minutes
- Best For: Pasta dishes, spreads, and desserts
- Ingredients: Whole milk, vinegar or lemon juice, salt
2. Mozzarella
- Difficulty Level: Medium
- Time Required: 1-2 hours
- Best For: Pizzas, salads, sandwiches
- Ingredients: Whole milk, rennet, citric acid, salt
3. Cheddar
- Difficulty Level: Advanced
- Time Required: Several months (ageing required)
- Best For: Snacking, cooking, melting
- Ingredients: Whole milk, rennet, cheese culture, salt
4. Feta
- Difficulty Level: Medium
- Time Required: 1-2 weeks (aging required)
- Best For: Salads, Mediterranean dishes
- Ingredients: Goat or sheep milk, rennet, salt, culture
Troubleshooting Common Cheese-Making Issues
Curds Won’t Set
- Ensure the rennet is fresh and diluted correctly.
- Verify the milk reaches the correct temperature.
- Use high-quality, non-homogenized milk for better curd formation.
Cheese is Too Dry
- Avoid overcooking the curds, which releases too much whey.
- Use whole milk for a richer texture.
Bitter Taste
- Too much rennet can make cheese bitter; reduce the amount.
- Ensure proper drainage to prevent bacterial overgrowth.
Storing and Enjoying Your Homemade Cheese
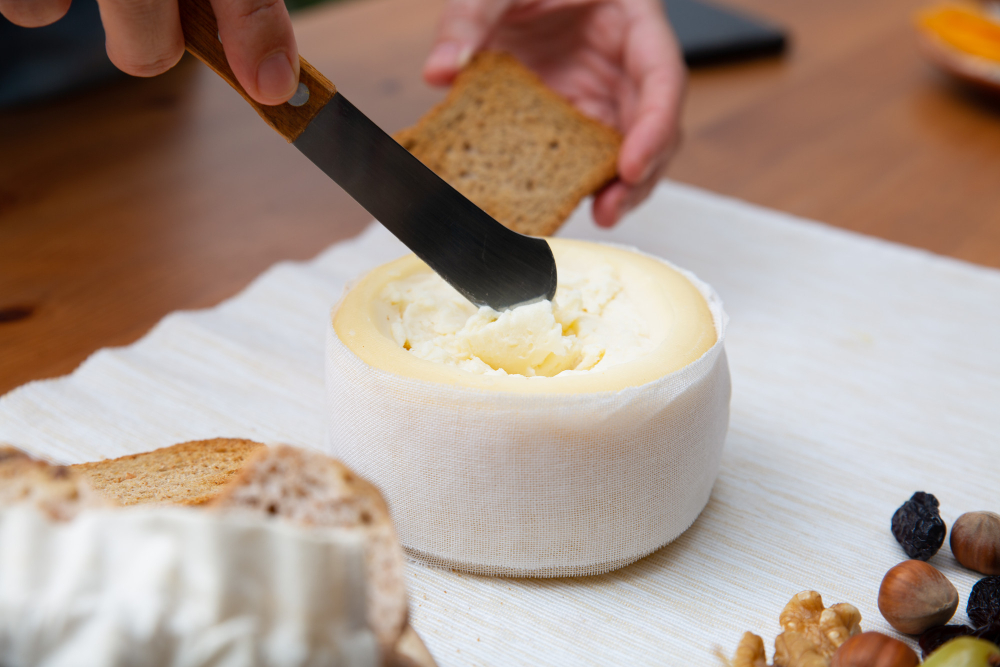
- Soft cheeses (i.e., ricotta, mozzarella): Store in a sealed container in the fridge for up to a week.
- Hard Cheeses (Cheddar, Parmesan): Wrap in wax paper and store in the fridge for several months.
- Brined cheeses (feta): Keep them in a saltwater brine to maintain moisture.
Pro Tip: Let cheese rest at room temperature for 15-30 minutes before serving for optimal flavour.
FAQs
Is it safe to make cheese at home?
Yes, as long as you use clean tools and high-quality ingredients.
Can I make cheese without rennet?
For some fresh cheeses like ricotta, use vinegar or lemon juice instead of rennet.
How long does homemade cheese last?
Fresh cheeses last about a week, while aged cheeses can last months.
Do I need a unique cheese cave for ageing?
No, a wine fridge or a cool, humid area can work for ageing cheeses.
Summary
Creating cheese at home is an exciting quest. With the proper ingredients, tools , and techniques, anyone can conquer the art of cheese-making at home. From creamy ricotta to delicately aged cheddar, making cheese can be as satisfying as eating it. So, read on, get your pot, seek out some good local milk, and begin your DIY cheese journey today!

