How to Make Artisanal Chocolate at Home – The Ultimate Guide
The act of bean-to-bar chocolate making is exhilarating. There are many ways to enjoy chocolate, but making it from scratch gives you power over the ingredients, the opportunity to experiment with flavours, and the ability to make a truly artisanal product. Nothing compares to the richness and depth of flavour handmade chocolates bring.
This guide will teach you to choose cocoa beans, temper and mould your chocolate and make dark, milk or white varieties. A step-by-step guide to mastering the art of homemade chocolate.
Understanding the Basics of Chocolate Making
Before you begin, it’s essential to understand the key ingredients in chocolate. One of which you may already know if you are a coffee drinker:
- Cocoa Beans – The foundation of all chocolate, sourced from cacao trees.
- Cocoa Butter – The natural fat in cocoa beans gives chocolate a smooth texture.
- Sugar – Balances bitterness and sweetens the chocolate.
- Milk Powder – Essential for milk and white chocolate.
- Lecithin – An emulsifier that binds ingredients together.
- Vanilla & Other Flavors – Enhance the overall taste profile.
- Salt & Spices – Used to deepen and elevate the flavour.
The Importance of Bean-to-Bar Chocolate
“Bean-to-bar” refers to chocolate made from whole cocoa beans rather than pre-processed chocolate. This allows home chocolatiers to create custom flavours, use high-quality ingredients, and carefully control each process step.
Step-by-Step Guide on How to Make Chocolate at Home
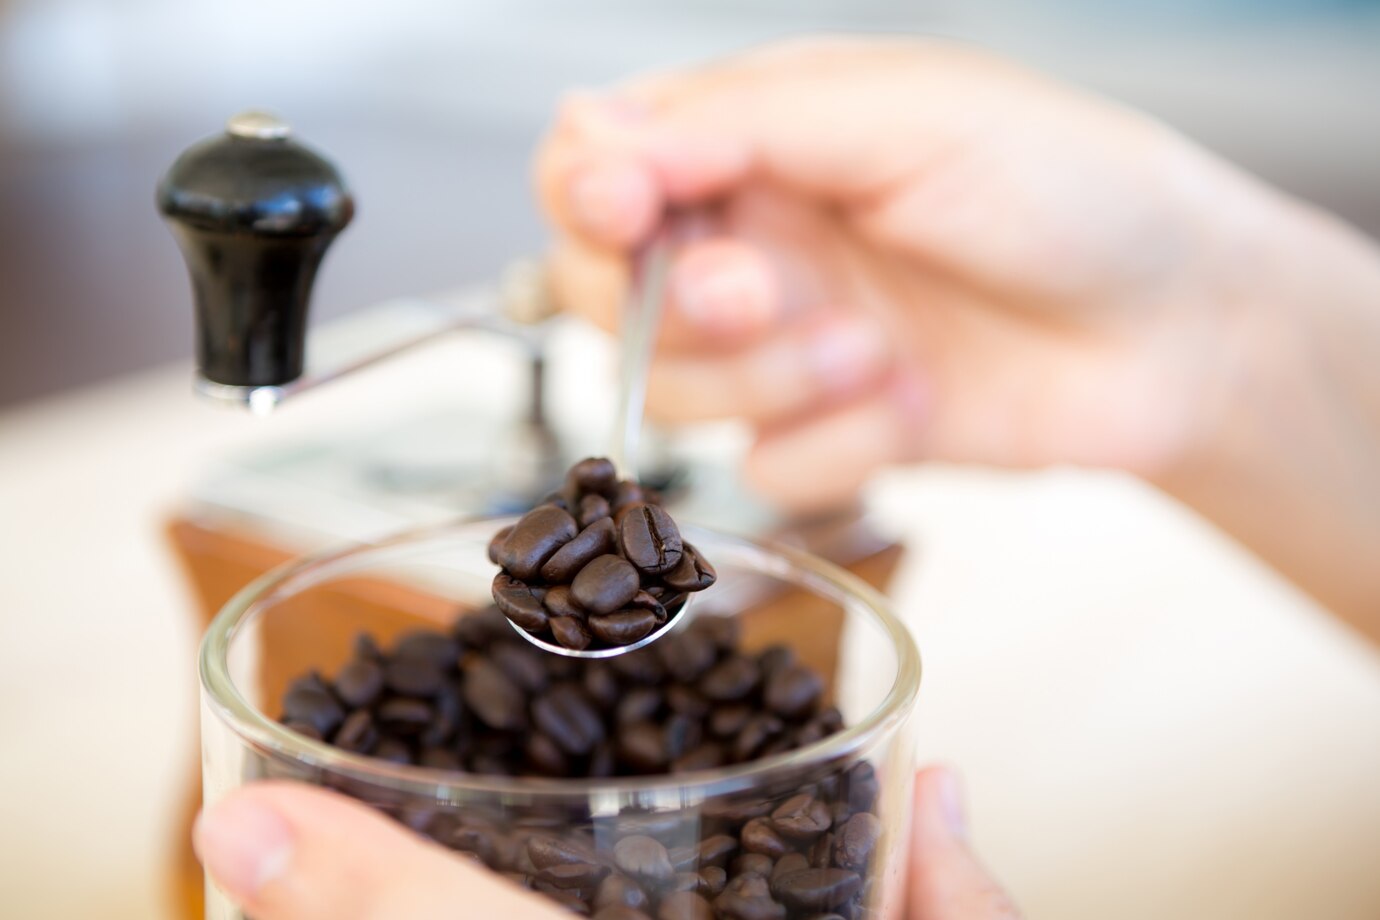
Step 1: Choosing and Roasting Cocoa Beans
Start with high-quality, ethically sourced cocoa beans to ensure the best flavour.
How to Roast Cocoa Beans:
- Preheat the oven to 120°C (250°F).
- Spread cocoa beans evenly on a baking tray.
- Roast for 15-25 minutes, stirring occasionally.
- Allow them to cool before handling.
Pro Tip: Adjust the roasting time based on bean variety and desired flavour intensity.
Step 2: Cracking and Winnowing the Beans
Once cooled, remove the husks to separate cocoa nibs from the shells.
How to Crack and Winnow Cocoa Beans:
- Crush the roasted beans using a rolling pin or mortar and pestle.
- Use a hairdryer or winnowing machine to separate the husks from the nibs.
- Collect the cocoa nibs, as these will be ground into chocolate.
Pro Tip: Removing husks thoroughly ensures a smoother chocolate texture and prevents bitterness.
Step 3: Grinding the Cocoa Nibs
Grinding transforms cocoa nibs into a smooth paste called chocolate liquor.
How to Grind Cocoa Nibs:
- Use a stone grinder or high-powered food processor to break down the nibs.
- Continue grinding for several hours until a smooth liquid forms.
- Add sugar, cocoa butter, and vanilla for enhanced flavour.
- Pass the mixture through a fine sieve to remove solid particles.
Pro Tip: Longer grinding (24-48 hours) results in a smoother and more refined chocolate texture.
Step 4: Conching – Developing Flavor and Texture
Conching aerates and blends the chocolate, improving its texture and flavour.
How to Conch Chocolate:
- Transfer the chocolate liquor to a conching machine or mix manually over low heat.
- Let the chocolate conch for at least 12 to 24 hours.
Pro Tip: Conching removes unwanted bitter compounds and enhances chocolate’s smoothness.
Step 5: Tempering the Chocolate
Tempering stabilises cocoa butter crystals, ensuring a glossy finish and smooth texture.
How to Temper Chocolate:
- Melt chocolate to 45°C (113°F) using a double boiler.
- Cool to 27°C (80°F) while stirring continuously.
- Reheat gently to 31°C-32°C (88°F-90°F) for dark chocolate, or 29°C-30°C (84°F-86°F) for milk and white chocolate.
- Pour into moulds immediately.
Pro Tip: Proper tempering prevents dull, streaky chocolate and improves the final snap.
Step 6: Moulding and Setting the Chocolate
Now, it’s time to shape your chocolate.
How to Mould Chocolate:
- Pour tempered chocolate into silicone or polycarbonate moulds.
- Tap the moulds gently to remove air bubbles.
- Let chocolate set at room temperature or refrigerate for faster results.
- Once set, remove the chocolate from the moulds.
Pro Tip: Lightly oiling the moulds can make the chocolate easier to release.
Flavour Variations and Add-Ins
Experiment with different flavours to customise your chocolate.
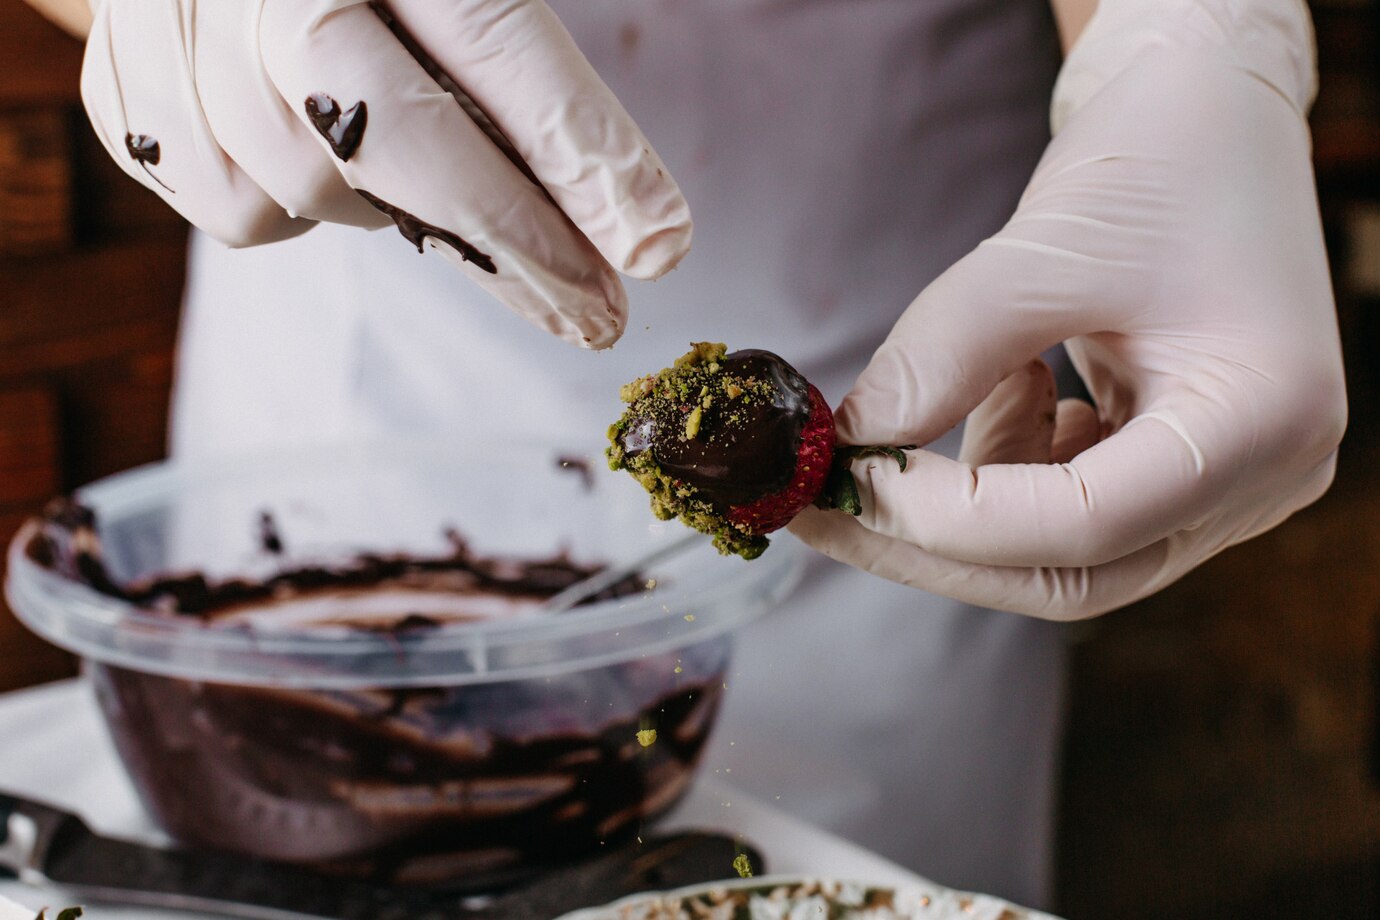
- Nuts & Seeds – Almonds, hazelnuts, pistachios.
- Dried Fruits – Cranberries, cherries, orange peel.
- Spices – Cinnamon, chilli, sea salt, cardamom.
- Extracts & Oils – Peppermint, orange, coffee.
- Coconut & Crispy Rice – Adds crunch and tropical notes.
Storing and Preserving Homemade Chocolate
Proper storage ensures chocolate remains fresh and flavorful.
- Cool, Dry Place: Store at 15°C-18°C (59°F-65°F).
- Airtight Container: Prevents moisture and odour absorption.
- Avoid Refrigeration: This can cause sugar to bloom (whitish spots).
- Shelf Life: Properly stored chocolate lasts up to one year.
FAQs
Why is my chocolate grainy?
Under-grinding results in a grainy texture. For a smoother texture, ensure cocoa nibs are processed in a stone grinder for at least 24 hours.
Can I make chocolate without cocoa butter?
Yes, but it will not have the same melt-in-your-mouth quality. You can substitute coconut oil, but the texture and taste will differ.
Why does my chocolate have white streaks?
This is due to improper tempering or fat bloom. Ensure correct temperature control during tempering.
Can I use regular sugar instead of powdered sugar?
Yes, but it must be finely ground to dissolve properly in the chocolate mixture.
What’s the best way to add flavours to chocolate?
Use oils or extracts for a consistent blend. Avoid adding water-based ingredients as they can cause chocolate to seize.
Enjoy the Craft of Homemade Chocolate
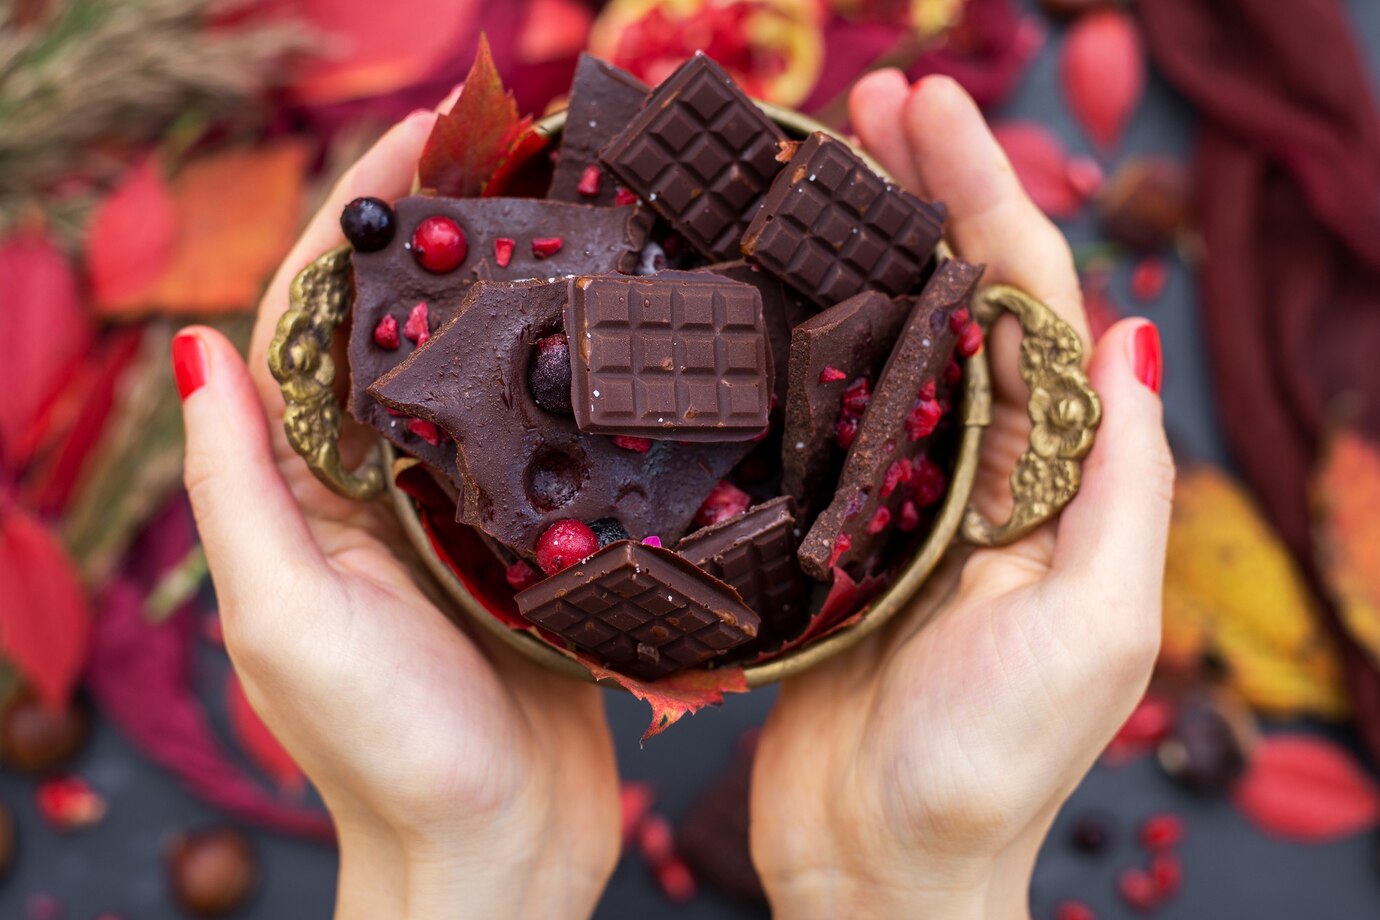
Making chocolate at home can be a fun and rewarding experience. This guide teaches you how to make smooth, flavorful, artisanal chocolate. Using top-quality ingredients and following proper techniques, you can make gourmet chocolate that rivals anything you could buy in a store.
Collect your ingredients, look for aromas, and get started on your chocolate manufacturing adventure now! You can customise your own recipes.
