DIY Bread-Making: The Secrets to Baking the Perfect Loaf
Making bread from scratch is so wholesome and pure – the kneading, the scent that permeates your home, the moment of slicing into that warm bread log. Homemade bread baking puts you in control of ingredients, invites you to explore flavour combinations and transfigures an essential act into an act of profound satisfaction. So whether you’re new to the bread-making game or just looking to hone your technique, use this guide to produce beautiful, bakery-quality loaves every time and get all the bread-baking tips.
The Science and Art of Bread-Making
The art and science of bread making takes just the right amount of everything, from ingredients to techniques to time to achieve success. The core fundamentals are followed for the manufacturing of all the best breads.
Bakery Basics: The Essentials of Bread Making
All great loaves of bread begin with a handful of simple ingredients:
- Flour: The backbone of bread, with different types affecting texture and flavour. Strong bread flour, all-purpose flour, and wholemeal flour create different results. Speciality flours like rye and spelt add unique tastes and textures.
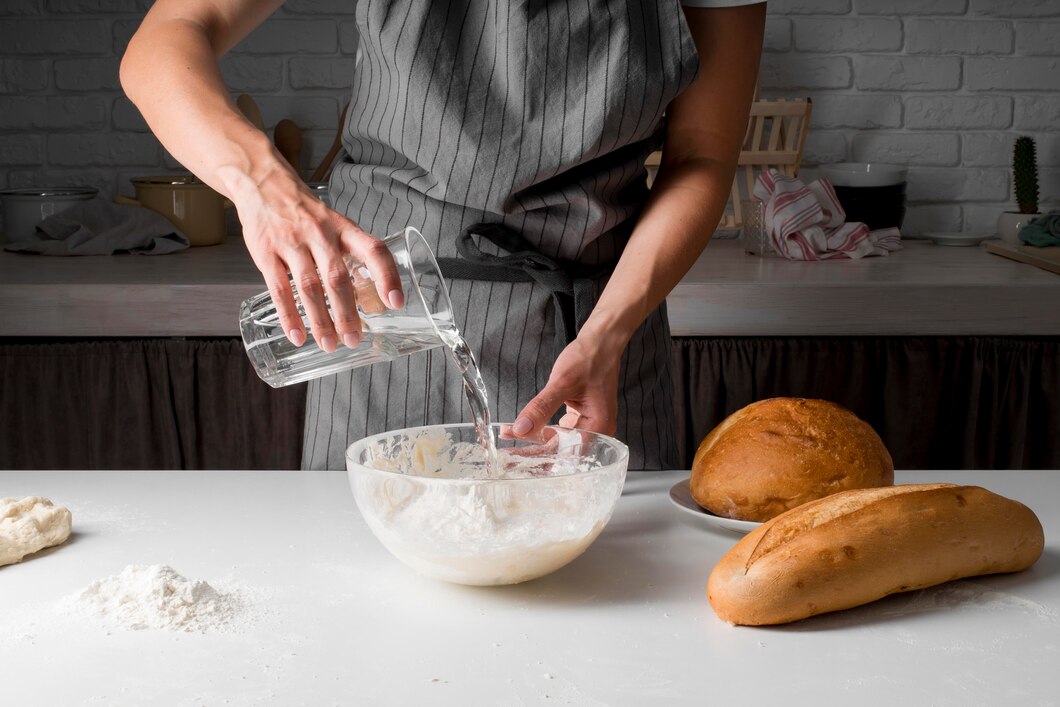
- Water: Hydrates the flour and activates gluten formation. The right hydration level impacts dough elasticity and crumb texture. Filtered water is recommended for best results.
- Yeast: The leavening agent responsible for making the dough rise. You can use commercial yeast (instant, active dry, or fresh) or natural wild yeast in sourdough starters.
- Salt: Enhances flavour and strengthens gluten structure. For even distribution, opt for acceptable sea salt or kosher salt.
- Optional Additions: Seeds, nuts, herbs, cheese, and sweeteners like honey, molasses, or malt extract can add depth to your bread’s flavour.
Understanding Gluten and Dough Development
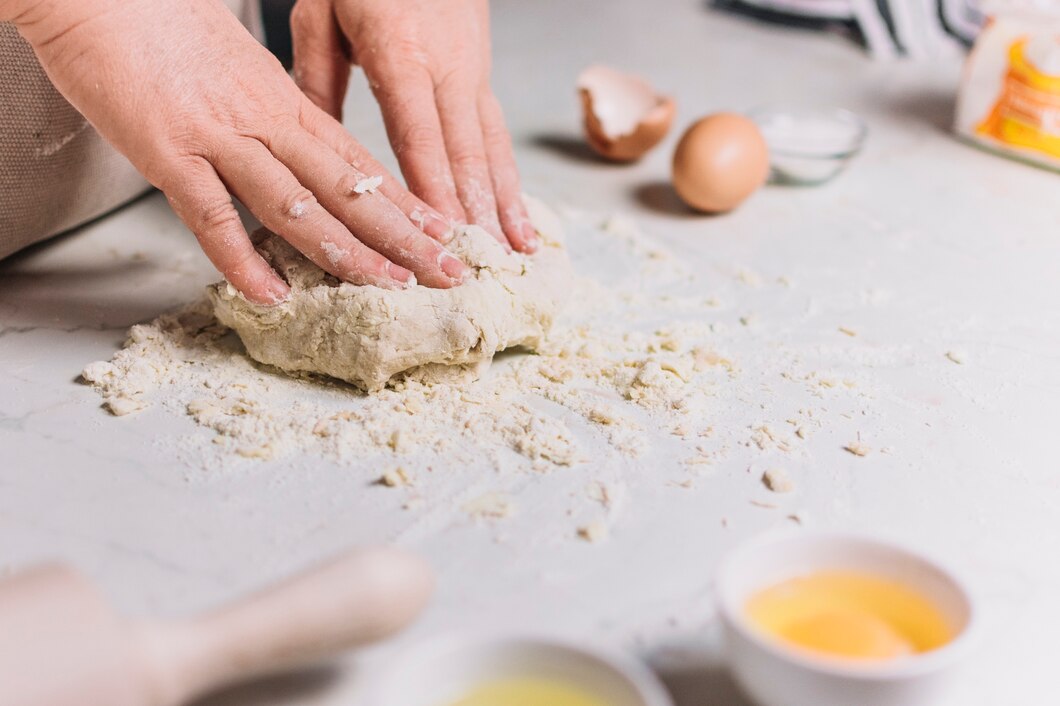
Gluten is the protein structure that gives bread its elasticity and chewiness. When flour and water mix, gluten strands form and strengthen through kneading. Understanding dough development is key to producing well-structured bread.
Kneading Techniques
Kneading develops gluten, creating the strength necessary for a good rise. Different kneading methods include:
- Traditional Kneading: Using hands to stretch and fold the dough takes 8-10 minutes.
- Stretch and Fold Method: This method is ideal for high-hydration doughs like sourdough. It reduces the need for intense kneading while building strength over time.
- Using a Stand Mixer: A convenient way to develop gluten without excessive handwork; mix on low speed for 5-7 minutes.
- No-Knead Bread Baking Method: A long fermentation process allows the gluten to develop naturally with minimal effort.
Fermentation and Proofing
Fermentation is when yeast feeds on sugars, producing gas that makes the dough rise. Proofing (or proving) allows the dough to expand before baking. Slow fermentation using cold proofing enhances flavour complexity.
- Bulk Fermentation: The first rise, where yeast activity strengthens the dough.
- Shaping and Second Proofing: After deflating, the dough is shaped and reproofed to build structure and texture.
- Retardation: Cold proofing in the refrigerator slows yeast activity, improving flavour and crust development.
The Secrets to Artisan Bread at Home
Artisan bread is known for its rustic appearance, chewy texture, and complex flavours. Achieve professional-quality artisan bread baking with these techniques:
1. The Perfect Sourdough Starter
A DIY sourdough starter is a natural leavening agent from flour and water. It captures wild yeast from the environment.
How to Create a Starter:
- Mix equal parts flour and water in a jar.
- Feed daily with fresh flour and water for 5-7 days.
- Use when bubbly, slightly tangy-smelling, and doubled in size.
- Maintain this by regularly feeding or refrigerating it for long-term storage.
2. Hydration Levels and Dough Consistency
- Higher hydration (above 70%) creates a more open crumb but requires careful handling.
- Low Hydration (50-60%): Firmer dough, great for sandwich loaves.
- Medium Hydration (65-75%): Balanced dough, good for rustic loaves.
- High Hydration (75% and above): Open crumb structure, ideal for ciabatta and sourdough.
3. Mastering the Stretch and Fold Technique
For artisan sourdough, stretch and fold the dough during fermentation instead of kneading. This builds strength while preserving hydration.
- Perform 3-4 stretch and fold sets every 30 minutes.
- Gently lift, stretch, and fold over itself to improve elasticity.
- Avoid over-handling to retain air pockets for an airy crumb.
4. The Importance of Preheating and Steam
Creating steam in the oven helps develop a crispy crust.
- Use a Dutch Oven: Traps steam naturally for crusty bread.
- Boiling Water Method: Place a pan with hot water on the oven’s lower rack.
- Spritzing: Lightly mist the dough before closing the oven door.
Baking the Perfect Loaf
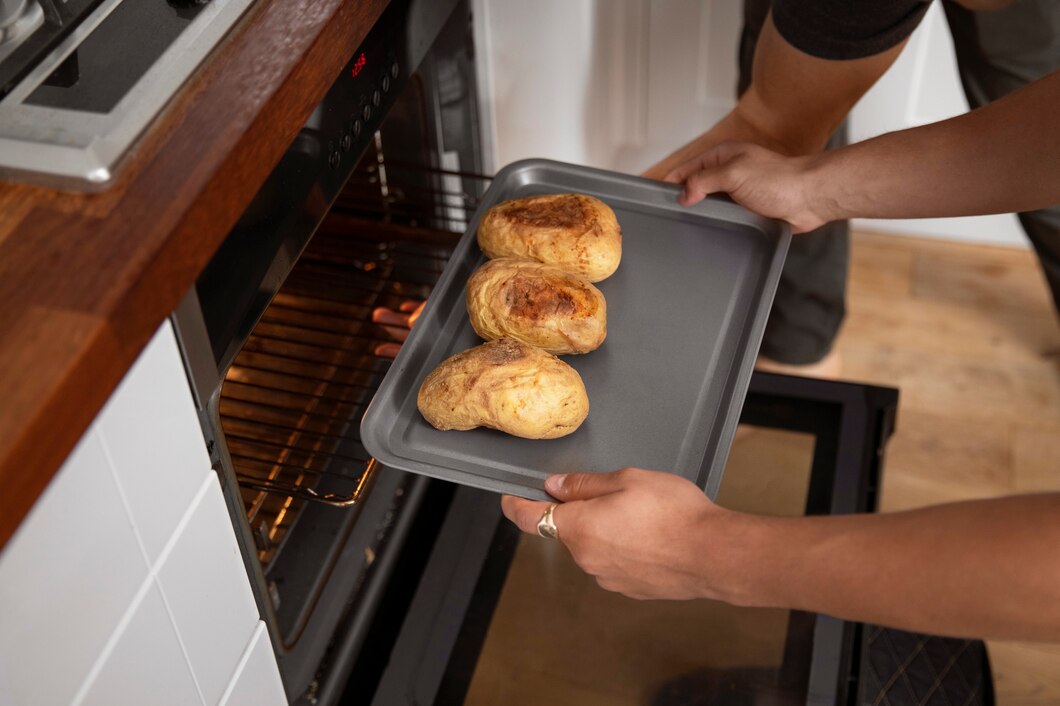
Temperature and Timing
Preheat the Oven: Always start with a hot oven (typically 220°C/430°F) for optimal oven spring.
Internal Temperature: Bread is fully baked when it reaches 90-95°C (195-205°F) inside.
Cooling Time: Allow bread to cool on a wire rack for at least 1 hour to prevent a soggy bottom and allow flavours to develop fully.
Common Bread-Making Mistakes and How to Avoid Them
- Dense Loaf: Under-proofing, insufficient kneading or too little water could be the cause.
- Flat Loaf: Over-proofing weakens the gluten structure, causing collapse.
- Thick Crust: Reduce baking time slightly or adjust steam levels.
- Gummy Interior: Bread may be underbaked or sliced too soon after baking.
Creative Variations of Homemade Bread
Once you master the basics, experiment with different styles:
- Whole Wheat Bread: Nutty flavour with added fibre.
- Seeded Bread: Mix flaxseeds, sesame, and sunflower seeds for extra crunch.
- Cheese and Herb Bread: Incorporate cheddar, parmesan, or fresh herbs.
- Fruit and Nut Bread: Add dried fruits, walnuts, or pecans.
The Joy of Homemade Bread
Baking bread at home is enjoyable and rewarding, allowing you to make delicious, wholesome loaves tailored to your tastes. Once you’ve learned the gluten-developing and fermentation techniques or artisan methods for DIY sourdough, then bread-making is yours! There is nothing like homemade bread, whether a rustic sourdough or a soft sandwich loaf. So get started today and enjoy the magic of baking from scratch!

